Tuesday, November 25, 2014

Recipe ~ Lemon Crinkle Cookies


I just can't seem to stop myself! Every night I go to bed thinking of what I want to make the next day to photograph. Saturday night I found this Lemon Crinkle Cookie recipe and thought this would be great to make using the lemons I bought to photograph! Yes, I bought lemons with the specific use of photographing them...nothing else, don't judge. You can click on the above link for the recipe, but I also copied it below for quick reference.

I had to make sure I photographed my lemons before I did anything else, of course :) This time I actually set up a little area in the sunroom to give a different background and light source. Don't mind my non-ironed table cloth. It's another one of my vintage linens and I haven't gotten around to pressing it.

 
The table cloth covered up the wicker, but I liked the additional texture it created when I photographed the lemons on their own.


I also took some in the basement so I could see how completely different each location made the photos look. It sure was hard to balance two lemons! So glad I was able to get this shot before the top one rolled off :)


Alright, enough of the lemons lol. On to the recipe. I gathered all the ingredients so I could get a before photo. Notice anything??


Lemon Crinkles

Yield: 2-3 dozen
Prep Time: 20 min
Cook Time: 10 min
Total Time: 30 min

Ingredients:

½ cups Butter, Softened
1 cup Granulated Sugar
½ teaspoons Vanilla Extract
1 whole Egg
1 teaspoon Lemon Zest
1 Tablespoon Fresh Lemon Juice
¼ teaspoons Salt
¼ teaspoons Baking Powder
⅛ teaspoons Baking Soda
1-½ cup All-purpose Flour
½ cups Powdered Sugar

Directions:

Preheat oven to 350 degrees. Grease light colored baking sheets with non stick cooking spray and set aside.

In a large bowl, cream butter and sugar together until light and fluffy. Whip in vanilla, egg, lemon zest and juice. Scrape sides and mix again. Stir in all dry ingredients slowly until just combined, *excluding the powdered sugar. Scrape sides of bowl and mix again briefly.

*The reason the above few words are in red is because I completely MISSED that part and added the powdered sugar with all the other dry ingredients! My mom assured me the cookies would be fine and would just be sweeter than if I had actually followed the recipe.

Pour powdered sugar onto a large plate. Roll a heaping teaspoon of dough into a ball and roll in powdered sugar. Place on baking sheet and repeat with remaining dough.

 
Bake for 9-11 minutes or until bottoms begin to barely brown and cookies look matte {not melty or shiny}. Mine took about 12 minutes, but that might be because of my inability to read directions...*If using a non stick darker baking tray, reduce baking time by about 2 minutes.


Remove from oven and cool cookies about 3 minutes before transferring to cooling rack.


Now the fun part!! I am in love with how the cookies and the lemons look against the all white background. I wasn't sure if it was going to be to white on white, but that pop of yellow just makes it!

 
I tried out a few different angles.

 
This one is shot from above. I like how the pattern in the table cloth shows up :)


I hope you are enjoying all the food photos! I promise I'll try not to do too many lol. Next time, I want to stack some cookies on top of each other to add height. It's just so much fun!! This was a little different than normal Tuesday posts, but I didn't think you would mind :)

Am I getting any better?? I still have lots to learn, but would love to hear what you think :)

Until next time.

Much love,
Liz
 

Sunday, November 23, 2014

They're Going Like Hotcakes!

I was so excited to wake up this morning. I read quite a bit in my new book, Plate to Pixel, last night and wanted to start implementing what I had learned.

I'm lucky to have a mom that is tolerant of my random wishes. I asked if she could make me pancakes this morning so I could photograph them, she gladly obliged. Funny fact; I don't even like pancakes! Lucky for me though, my husband does :)

I set up in the dining room so I could try my hand at using natural light for today's breakfast set up. I didn't have a reflector and now that I think about it, I should have grabbed some tin foil but was too excited and in a hurry. One thing I learned right off the bat is that you need LOTS of patience. I was running around grabbing butter, silverware, a plate, new cute little pitcher (a St. Vincent find) and my placemat (another St. Vincent find). I was ROASTING before I even started shooting!!

It seems like all the glass pieces I have are either etched or pressed :)
 
I'm in love with the pattern on this placemat and the stitching is amazing!


 Next time, I'm going to make sure I keep my pancakes hot enough so the butter melts! Just another thing to add to my learning list :)


I wasn't sure if I wanted to even attempt a pour shot, but I figured I needed to push myself outside my comfort zone and just try; otherwise, I'll never learn! I'm so glad I did and my husband did a great job pouring :)


I'm loving how the final shots turned out and I learned a great deal from this mini-shoot. Next time, I'm going to be more prepared before I even start the food. One thing the book talks about is thinking about the whole layout of your shoot and what you want to convey. To me, when a person sees all of your images or even just ONE image, their mouth should be watering.

I hope I accomplished that with these photos! I'd love to hear what you think :) Head to the comments and again, if you have any tips or tricks, I'd LOVE to hear them!!

Until next time.

Much love,
Liz


Friday, November 21, 2014

Cake, Anyone?

These past few days I've been playing around with my new photography set up in the basement. It's proving to be quite a challenge to figure out my lighting, staging, and settings.

This is my first real attempt at styling and photographing food. I honestly haven't studied a lot about this area of photography, but it's something I'm very intrigued by. After some searching on Amazon and comparing books on the subject, I ordered Plate to Pixel by Helene Dujardin. It arrived yesterday and I can't wait to dive in and start learning.

I thought I'd start by baking a cake and then photographing it. First challenge...baking and decorating the cake! I've never made a two tiered cake, so this maybe wasn't the best idea to start with. Thank goodness I had my mom there to show me how to frost it properly! I probably will pick something a little easier next time I want to practice lol.

I was so excited to photograph this cake. I found an amazing platter at St. Vincent, of course, which I thought was a cake plate, but apparently it's just a serving platter. The napkin is from a collection of old linens that were given to me by my grandma. They were her stepmom's. I switched out my wood backdrop for a piece of plywood that I painted with chalkboard paint. I liked the contrast against the wood "table" and how the light reflected on it. It really made the color in the cherries and the napkin pop.


The below photo is my favorite :)
 
 
I loved how detailed the handles are.

 
I'm still trying to figure this all out, but I think for my first attempt it turned out pretty good! Head to the comments and let me know what you think and if you have any tips or pointers :)
 
Until next time.
 
Much love,
Liz

Thursday, November 20, 2014

Thrifting Thursday - New Set Up!

I'm so excited to be getting one step closer to having a place to do my photography inside. Winter has already arrived in Wisconsin, so I no longer have daylight to work with when I get home. I have a long way to go, but it's a start.

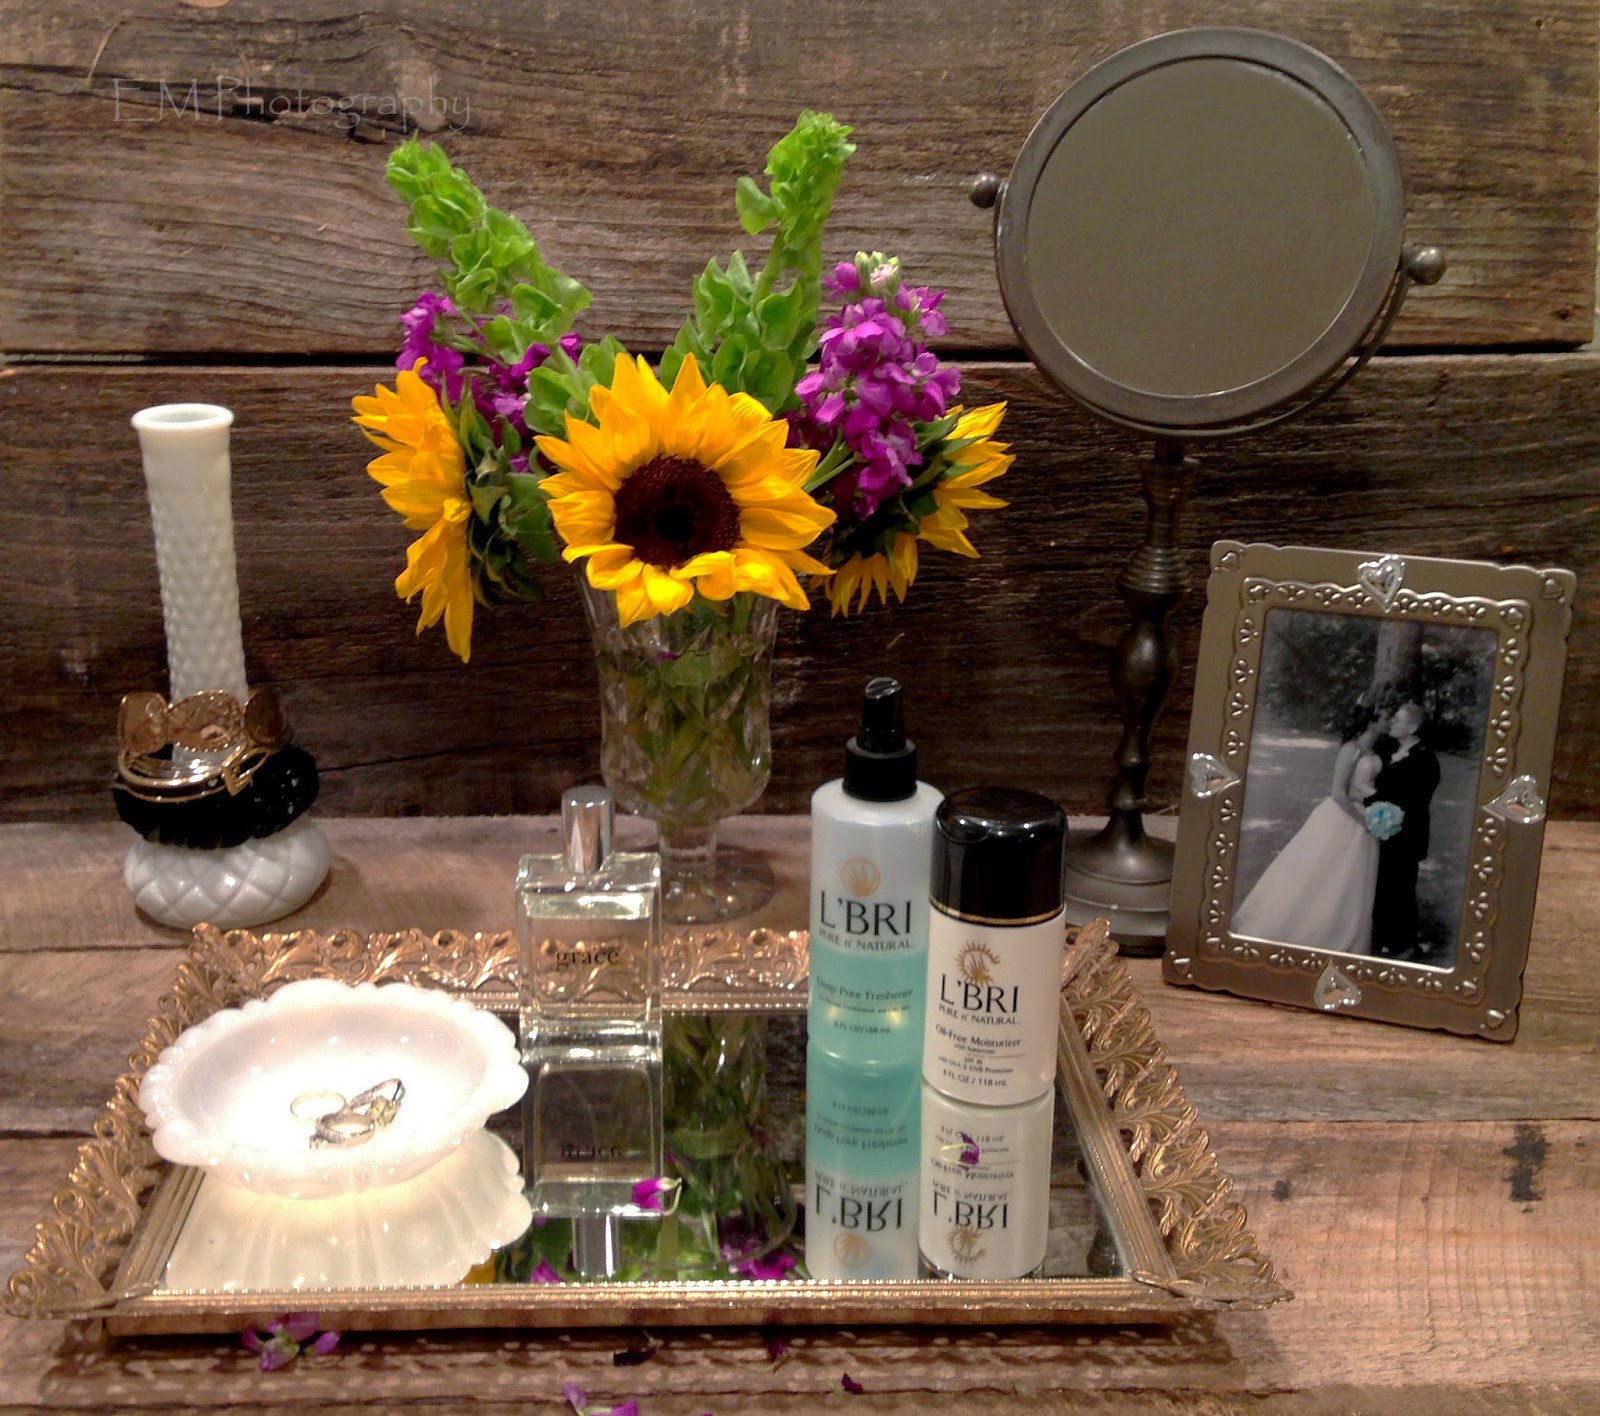
This is the space that I decided would be the best place to set up. It's rather dark and there are NO windows so I'm going to have to get creative with lighting.


This week's thrifting Thursday has quite a few components. I'm going to start off with a big picture of my new layout featuring wood that my grandpa cut many years ago. I still need to configure it so the boards cover my entire work space.


Here is a better shot of the setting. I added in some little things to complete the "getting ready" image I had in my head.


This is one of the many milk glass vases I've purchased. I didn't have any way to store my bracelets where I could see them all, so I thought this was the perfect solution!


 I think you may have seen this little beauty on my Instagram. I just love this little dish. It sits on my nightstand and holds my rings.


And I mean COME ON! Look at this stunning vase I bought!! It's by far my favorite and it looks awesome on my mirrored tray, too.


I couldn't believe when I saw this mirror sitting on the shelf. I don't know how long it had been there (well it was less than two days since that was the last time I was there lol) and I know for a FACT if I wouldn't have bought it that day, it would have been gone. Isn't it just BEAUTIFUL?!


So that's the end of another thrifting Thursday :) I hope you enjoyed my finds as much as I enjoyed photographing and sharing them with you. I'd love to know what you thought, so leave some love down in the comments!

Until next time.

Much love,
Liz


Tuesday, November 18, 2014

DIY Welcome Sign - Tutorial Tuesday

Happy Tuesday everyone! I hope everyone is having a great day :) I'm very excited to share this project with you as it is another that has been on my list for quite awhile.

I've seen people make this sign a few different ways but I had to improvise a little. I was first going to go and buy the wood letters from Hobby Lobby, paint them, and then attach them to my board. Well...I never made it to Hobby Lobby so my next thought was to get them at Wal-Mart. A ton of other people must have had the same project in mind as the letters I needed were the EXACT ones they were sold out of! I was sitting at work yesterday and the idea to trace the letters came in to my mind. I pulled up Word and wrote out the word WELCOME. I played around with the size and font until I found something that I thought might fit. I settled on JasmineUPC size 800.

I printed them off and brought them home to see if they would even work. I honestly just used an old piece of wood that I brought home from my grandpa's house. It was the right height and width so it worked perfect.


 I taped on the letters and got my spacing right. Next, was the painstaking process of tracing every single letter, pressing hard enough that it would show up on the wood.


Here's a photo so you can see the faint outline that my tracing left. I used just a standard pen, nothing fancy. I didn't have any problems with ink getting on the board either. I tried to make sure I was pressing hard enough to make a dent but not enough that I was ripping the paper.


Then it was time to paint! I just used acrylic craft paint from Wal-Mart and it worked well.


The wood really soaked up the paint. I did a few layers just to make sure it was an even coat. If you are using newer wood you will probably only need one coat.

Here it is all finished!!! I'm so happy with how it turned out. It's going to look great with all the other decorations that are going on the front steps.


I'll make sure to take photos of it outside with everything else once it's all done. I hope everyone has a great rest of your day! If you liked this project, please leave some love down in the comments :)

Until next time.

Much love,
Liz


Thursday, November 13, 2014

Thrifting Thursday - Drink Up the Fruity Goodness

I had a little fun with this weeks Thrifting Thursday. I have so many different types of dishes I've purchased and I thought it would be fun to start using them to serve our meals in and on. The two items featured in this post are my champagne glass and my dessert cup. The white bowl is my moms and I've eaten off of them since I can remember so I figured it fit in with my style :) I didn't realize until after I started eating that I didn't take a photo of my whole setting so I'm sorry for the partially eaten salad!!!

One of my goals for next month is to actually get a place in the basement set up with lights and backdrops for shoots like this :) Just need to get all my barn wood out of storage before the snow really flies! I've been wanting to get in to food staging/photography for quite some time now...and as you can see I have a LONG way to go and lots to learn. I think once we are set up in a new house I'll have a whole area dedicated for stuff like this :) Makes me giddy just thinking about it!!!


I LOVED the etching on this glass


Happy bubbles :)


Hope you enjoyed this weeks Thrifting Thursday!! Don't forget to leave some love in the comments :) I enjoy hearing from each and every one of you.

Until next time...

Much love,
Liz

Tuesday, November 11, 2014

DIY Nail Polish Display- Tuesday Tutorial


I've decided that I'm going to do a series. It's going to be called Tutorial Tuesdays and I'm SOOO excited! The other week I showed you how to make a scarf ladder. You can see that tutorial HERE.

This week, I had another project that I wanted to tackle that I have been putting off for way too long. It's a nail polish display:) This was another pretty simply project (which I prefer and so does my husband) so it only took a little bit to complete.

The supplies you will need are:

  • Hammer
  • long thin nails (we honestly just used nails we had on hand)


  • A small level
  • Paint
  • Saw
  • Drill

We bought three of these

and two of these

I am going to have two displays built so that's why we bought extra material :) I have just a few too many bottles of nail polish to fit in just one lol.


We used the backer board as the guide.

  • The top and bottom boards are 12" across.
  • The sides are 22 1/2"
  • Each shelf is 10 1/2" across
  • My shelves are spaced at few different sizes because I have different heights of nail polish. The top shelf is 4 1/2" tall, the next one is 3 1/2" and then the last three are all 4" a part.

I actually painted my boards the night before so it was quicker to assemble in the morning. I did white as my backer and black for my frame and shelves. You can of course paint your nail polish rack whatever color you would like :) *See note below about painting

Painted backer boards

Figuring out my layout and spacing
Pieces drying after being repainted. See note below.


Beginning of the frame being built

The Mr. pre-drilled all the holes and then used small nails to assemble the frame

More assembly of the frame

Figuring out placement again before nailing each shelf in

He put two nails in for each shelf on both sides to
make sure the shelf was secure and could hold weight.


 At this point make sure you level each shelf before you put in the back nail. We didn't have a small enough level so we had to eyeball it. We did pretty good...only one shelf leans to the back a little lol.


Test run to make sure the heights are right and then it
was time to do all the last minute touch ups.

Here it is! Getting all filled up :)


*I have to say after it was all put together I wouldn't have painted everything before the cuts were made.The backer boards are fine but I'd wait on the rest until they are cut. I had a lot of touching up to do and sanding once the boards were cut to size. I'd cut, paint, then assemble next time :)

Here's the finished product :) I absolutely LOVE it and it makes it so much easier to see all the colors I have. It will be even nicer when the Mr. finishes my other display so I don't have to double them up!!


I hope you enjoyed this tutorial. Please leave some love, feedback or questions down in the comments!!!

Much love,
Liz